Jobseeker Add Job Alert In The WP Job Portal!
Add Job Alert

To create job alerts from the Jobseeker Dashboard, follow these steps:
Step 1: Navigating to Job Alerts
From your Jobseeker Dashboard → Dashboard Menu → Job Alert to access the job alert creation form.
Step 2: Filling Out the Job Alert Form
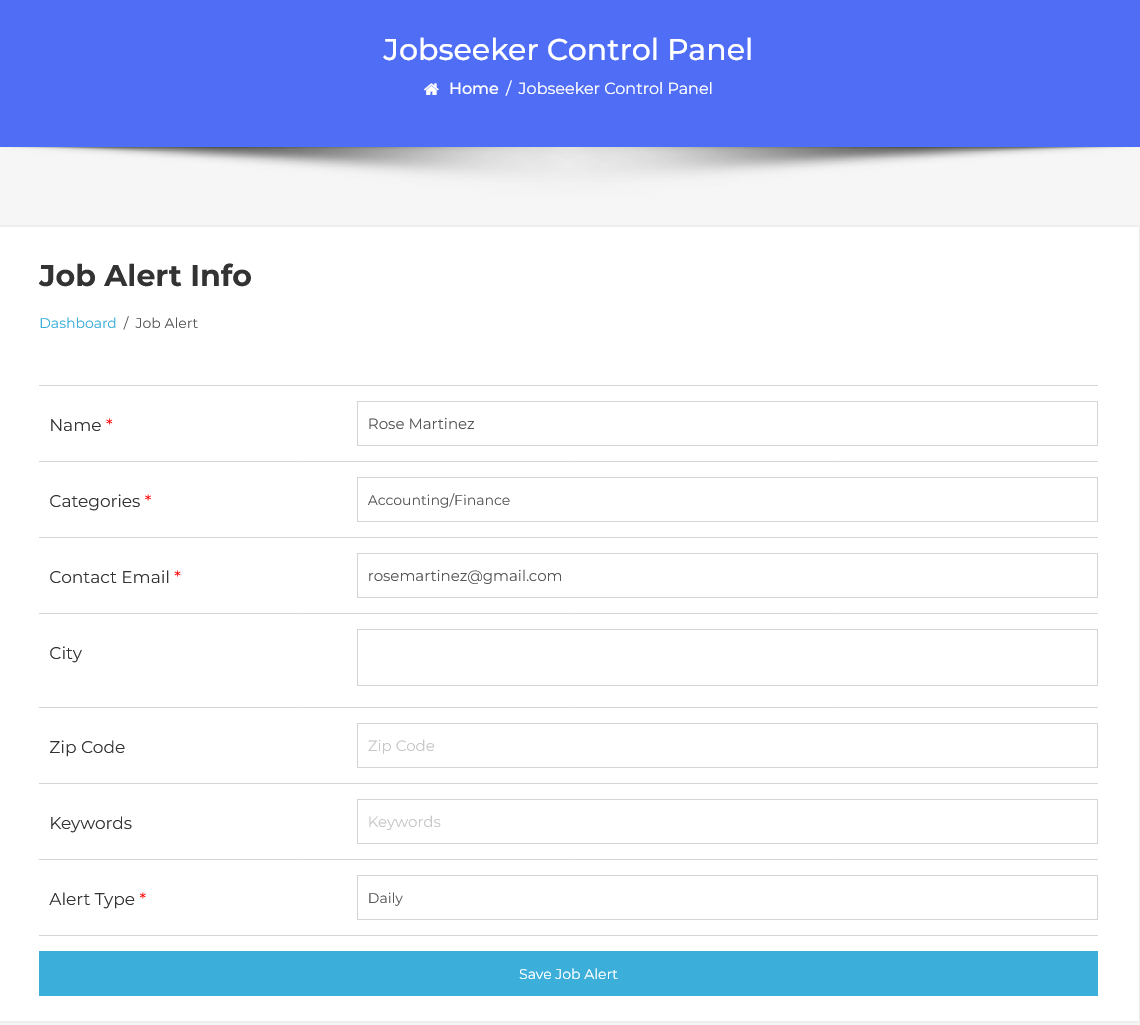
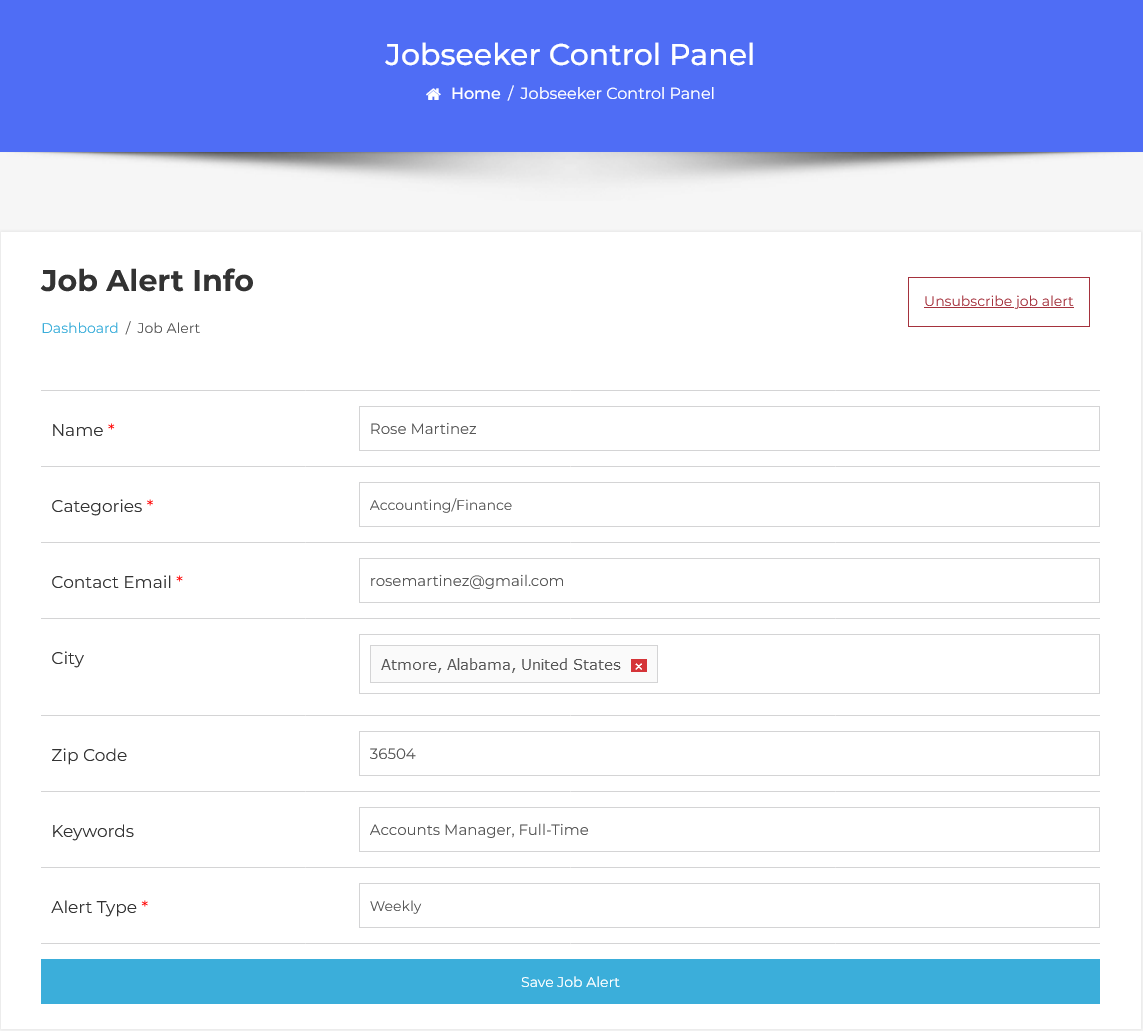
Provide the following details on the “Add new Job alert” form:
- Name: The name of the jobseeker subscribing to the alert.
- Category: Choose the relevant job category for receiving job alerts.
- Contact Email: Enter the email address to which the alerts will be sent.
- City: Specify the city where you want job alerts.
- Zip Code: Provide the job alert’s zip code.
- Keywords: Enter relevant keywords for better search filtering.
- Alert Type: Choose how often you want to receive alerts (daily, weekly, or monthly).
- Status: Set the status of your job alert (pending, approved, rejected).
Step 3: Saving the Job Alert
At the bottom of the form, you’ll find the “Cancel” and “Save Job Alert” buttons. Once all the required details are completed, click the “Save Job Alert” button. Your job alert is now successfully saved and will be activated according to the alert type selected.
This way, job seekers can stay informed about new job opportunities that match their preferences.

When a user clicks on the Unsubscribe button, the job alert associated with the provided email address will be immediately unsubscribed. This action ensures that the user will no longer receive job alerts at that email address.


