How To Use Shortcodes In The WP Job Portal!
WP Job Portal provides a variety of helpful shortcodes to assist you in creating visually appealing and engaging pages that meet your specific needs. These shortcodes are intended to simplify the task of adding dynamic content and functionality to your job board, enabling you to display job listings, application forms, search filters, and more without requiring coding knowledge. Let’s delve into how to effectively utilize shortcodes to personalize and enhance your WP Job Portal experience.
Add Page Using Shortcodes

To create a Jobseeker control panel using the shortcode in the WP Job Portal, follow these steps:
- Admin Dashboard Access: Log in as an administrator and go to your WordPress Admin Dashboard.
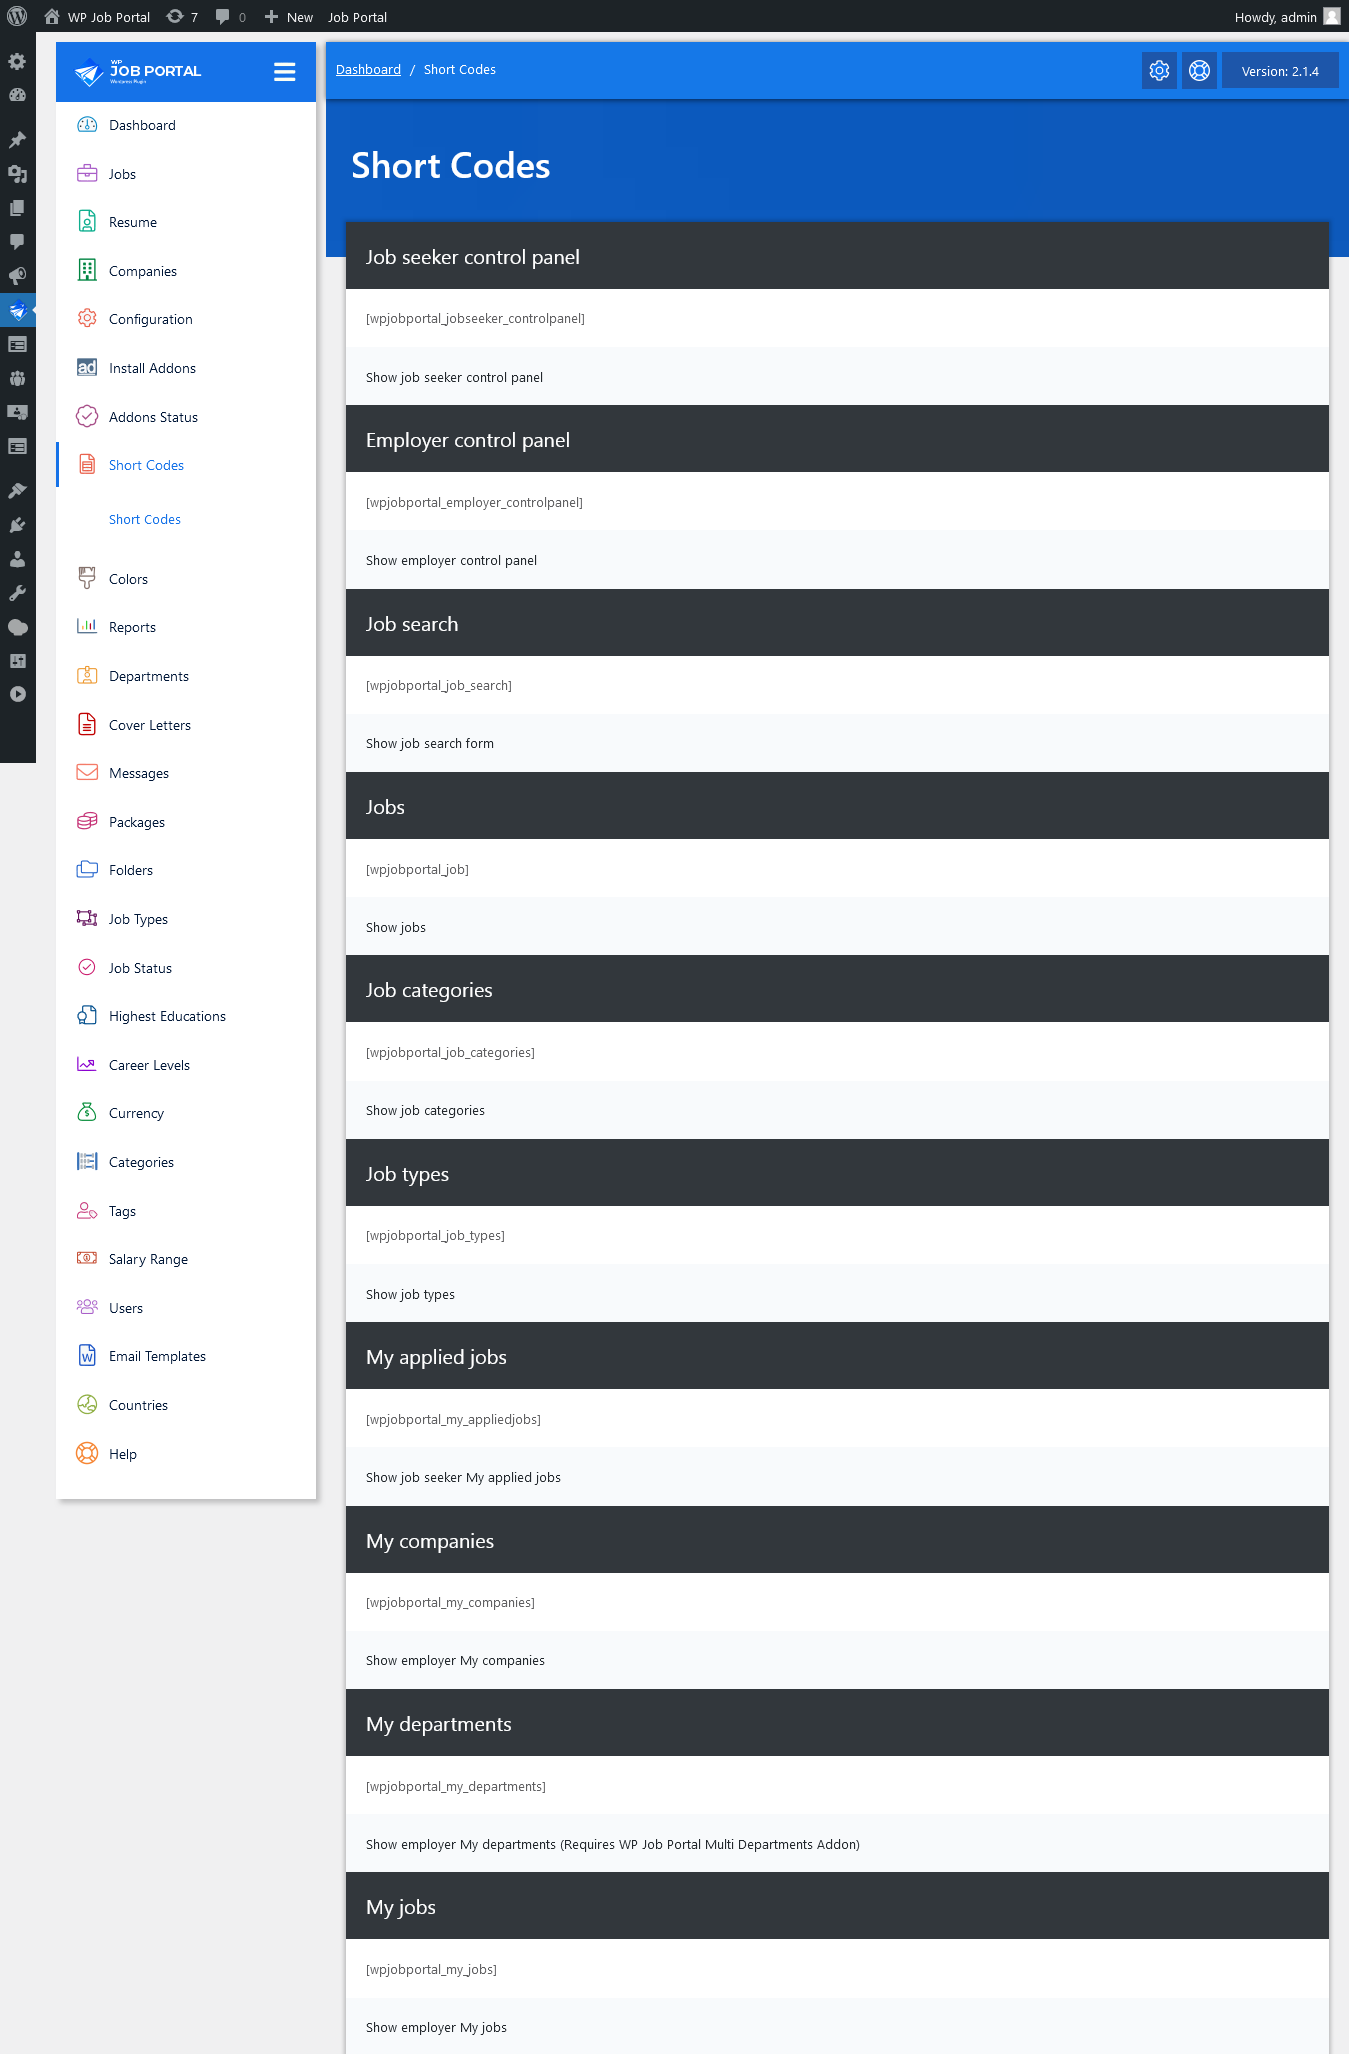
- Navigate to Shortcodes: From the Dashboard Menu, go to Shortcodes and click on it. This section contains a list of all available shortcodes.
- Locate the Jobseeker Control Panel Shortcode: Find the shortcode for the Jobseeker Control Panel. This shortcode will provide job seekers with a control panel to manage their resumes, applications, and personal information.
- Copy the Shortcode: Once you find the shortcode, copy it. The shortcode might look something like
[wp_jobseeker_dashboard]. - Create a New Page: Now, navigate to Pages and click on Add New to create a new page.
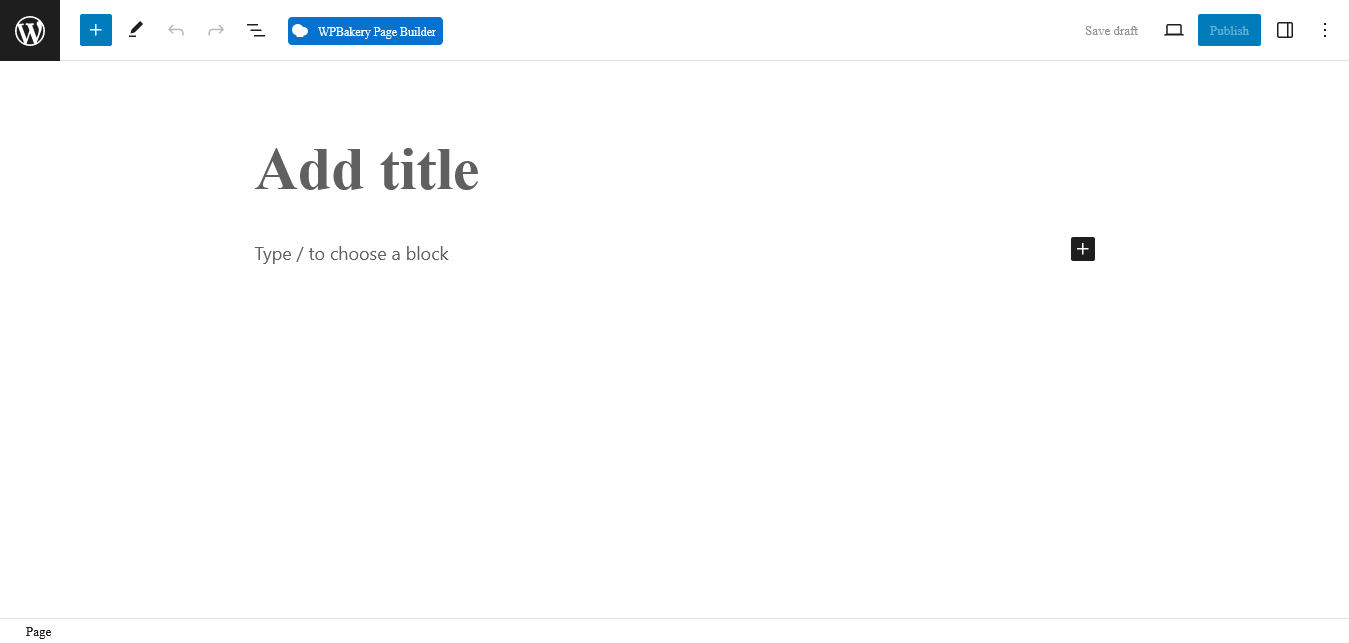
- Paste the Shortcode: In the page editor, give your page a relevant title, like “Jobseeker Control Panel,” and paste the copied shortcode into the page content.
- Publish the Page: Once the shortcode is in place, click the Publish button to make the page live.
The Jobseeker Control Panel will now be available on your site, providing job seekers with easy access to their dashboard where they can manage resumes, applications, and account settings.

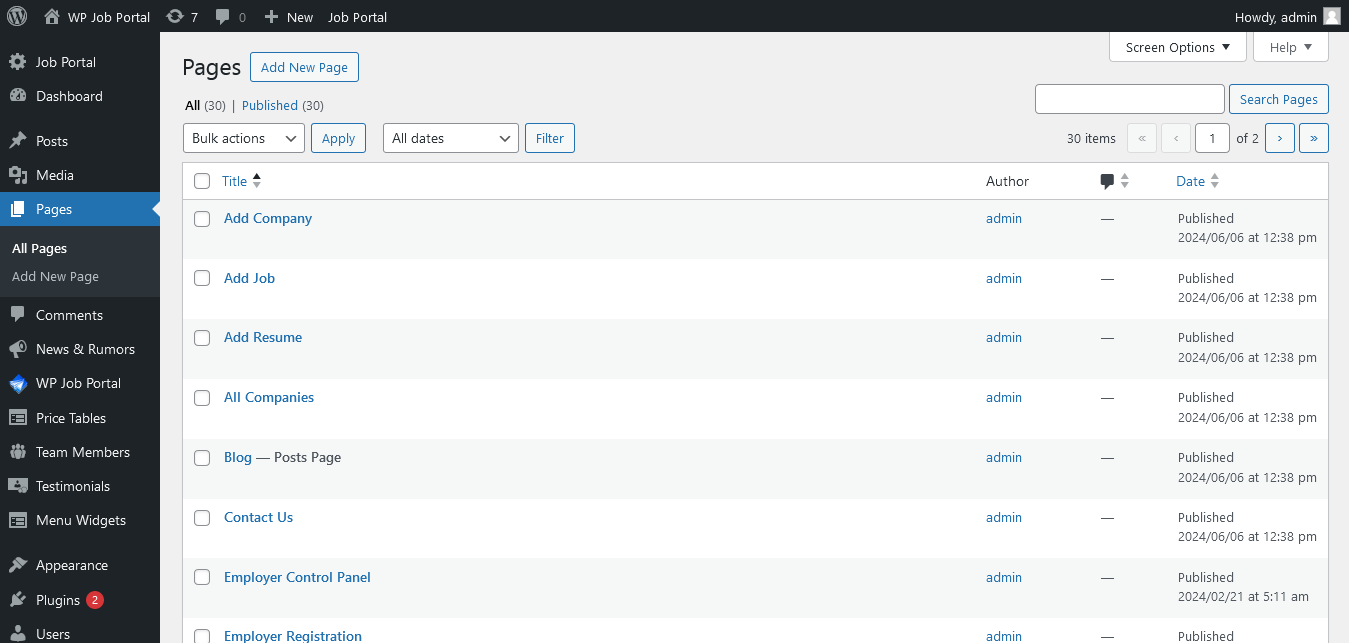
To add a new page in WordPress, follow these steps:
- Navigate to Pages: From the WordPress Dashboard, look at the WordPress Sidebar on the left.
- Click on ‘Pages’: Find and click on Pages to expand the options.
- Click on ‘Add New’: Once the Pages section opens, click on the Add New button at the top to create a new page.
This will open the page editor where you can add a title, content, and any shortcodes to customize your page.

To create and set up your Jobseeker Control Panel page, follow these steps:
- Give the Page a Title: In the new page editor, add a title like ‘Jobseeker Control Panel’.
- Paste the Shortcode: In the content section of the page, paste the WP Job Portal shortcode for the jobseeker control panel.
- Publish the Page: Once you’ve pasted the shortcode, click on the Publish button to save the page.
- View the Page: After publishing, click the View Page button to see the jobseeker control panel live on your site.
This will allow jobseekers to access the control panel directly from this new page.
Add Page Into Website Menu

To make the Jobseeker Control Panel easily accessible from your website’s menu, follow these steps:
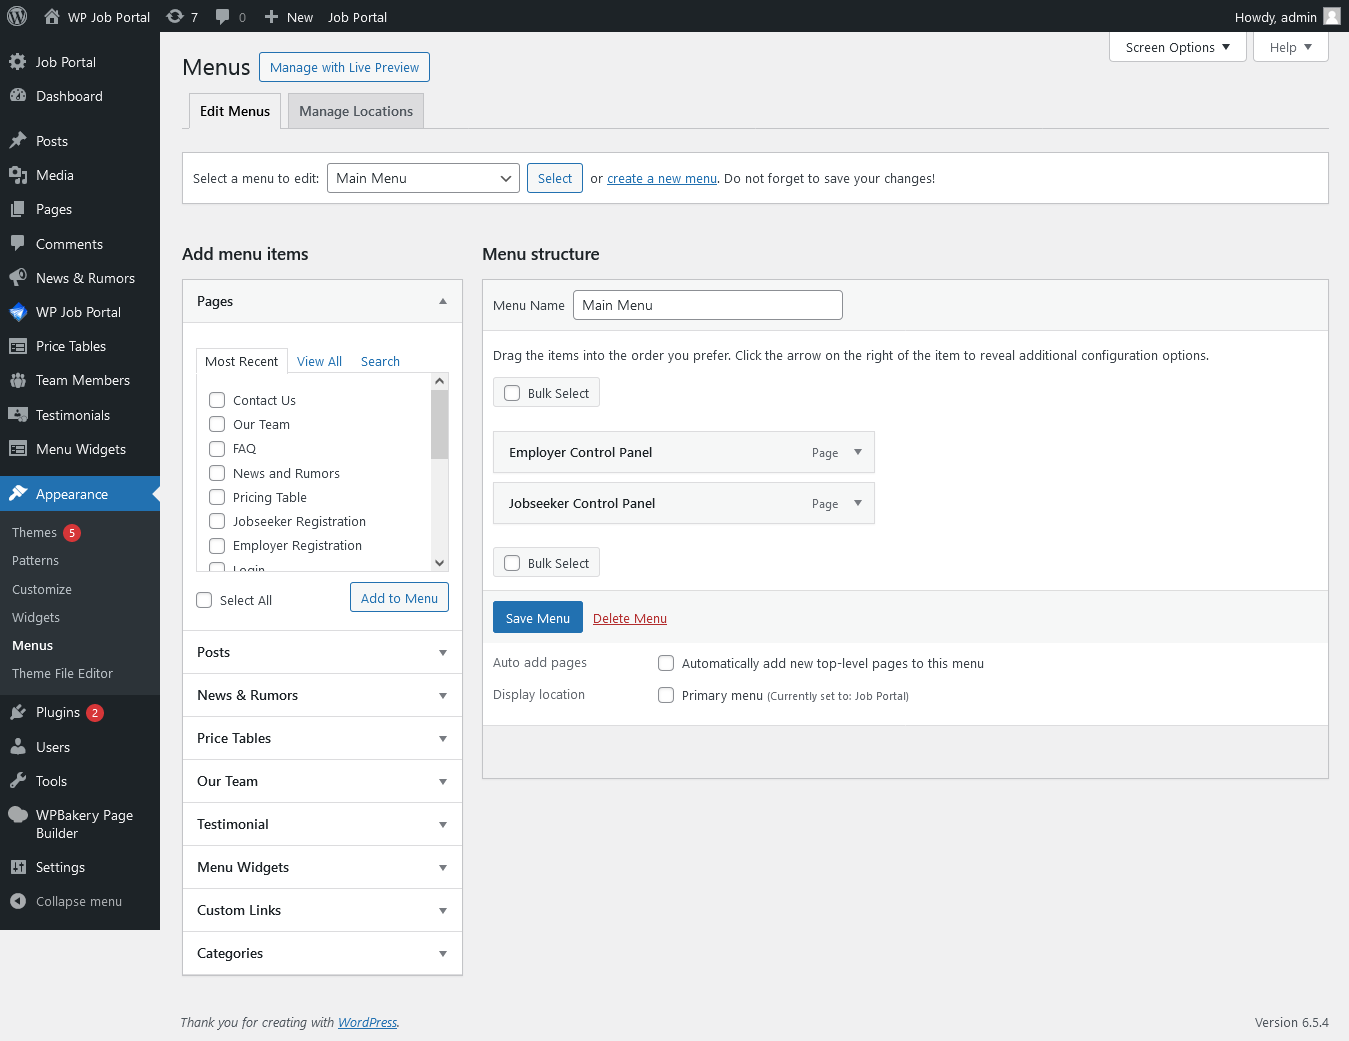
- Navigate to Menus: From the WordPress Dashboard, go to Appearance → Menus.
- Add the Jobseeker Page: In the Add Menu Items section, find the Jobseeker Control Panel page you created. Check the box next to it and click Add to Menu.
- Organize Menu: Drag and drop the page in the desired position within the menu structure.
- Save the Menu: Once you’re satisfied with the menu arrangement, click Save Menu to apply the changes.
Now, the Jobseeker Control Panel page will appear in your website’s menu, providing quick and easy access for users. This method streamlines the process of using shortcodes and pages, ensuring a user-friendly experience.


